The Gen2 MINIs have been around since 2007, along with a lot of documentation and how-to’s. Sadly, as I was changing the oil in my Clubman the other day, and couldn’t find my notes on the torque spec for the oil drain plug, I realized a lot of how-to’s have been lost to the Internet black-hole…broken links, missing images, etc. as they reach a decade-plus in age.
So I figured I would publish a new how-to on changing the oil in a Gen2 MINI. For all of us owners who have had them for years, and for those who will come to own them in the future.
Tools/Supplies Needed
- 6 quarts (uses 4.4 quarts) of oil meeting BMW/MINI specifications (I like to have a spare quart on-hand in case I need to top off down the line)
- Oil Filter Kit…oil filter, oil filter housing o-ring, oil drain plug copper crush washer
- Socket set with long extension (especially to reach the oil filter housing)
- T-50 hex head or 8mm hex socket for oil drain plug
- 10mm socket to remove coolant expansion tank bolt
- 27mm socket for oil filter housing
- Oil catch pan
- Towels/rags/cleaning supplies
- Rubber gloves
- Old blanket/towel, cardboard box, etc.
Note: The debate on which oil to use in your MINI is a black hole. Find an oil that meets or exceeds BMW/MINI requirements (ACEA A3/B3, API Rating SM or higher, BMW LL-01), or just go to the dealer and pickup MINI branded oil, and you’re likely to be just fine. If you’re interested, I’ve found the following oils work well for me…but your mileage may vary. During warmer months, I use AMSOIL European Formula 5W-40 Classific ESP Synthetic, and Royal Purple API-Licensed SAE 5W-30 Synthetic during the colder months.
Torque Specs
- Oil Drain Plug: 22 ft-lb
- Oil Filter Housing: 18.5 ft-lb
Oil Change Instructions
First things first, put on a pair of rubber gloves. I’m annoyed I didn’t learn this trick until way too late in life. I spent years changing oil with my bare hands, or with various mechanics gloves, only to have them covered in oil 5-minutes into the job. The rubber gloves help keep your hands clean while changing oil, or doing other automotive maintenance projects. You can thank me later.
Using a jack, lift the front of the MINI (I prefer the driver-side front, as I feel the oil drains more completely), and secure it with jack-stands, so you can get under the car.
DISCLAIMER: Never, NEVER, NEVER, NEVER get under a car unless it has been properly secured with jack-stands…being crushed to death beneath a car will hurt, A LOT. And it will hurt a lot the whole time you are dying.
Before crawling under the car, loosen the oil filler cap. This will help the oil drain more smoothly.

Lay an old blanket/towel or cardboard box under the car, this will help catch any stray oil so it doesn’t stain your garage floor or driveway. Now get under the car, and loosen the oil drain plug with the T-50 hex head or 8mm hex socket. Use the oil catch pan, to catch the draining oil…and oil drain plug if you drop it.
While waiting for the oil to drain, clean the oil drain plug with a rag, and use a small screwdriver or fingernail to remove the old copper crush washer from the oil drain plug. Find the new copper crush washer in your Oil Change Kit, and replace it on the oil drain plug.
Once the oil has completely drained, climb back under the car, and replace the oil drain plug. Begin to thread and tighten the oil drain plug by hand, then using a torque wrench, tighten to 22 ft-lb.
With the oil drain plug replaced, bring the car down off the jack-stands, as it makes the rest of the job easier.

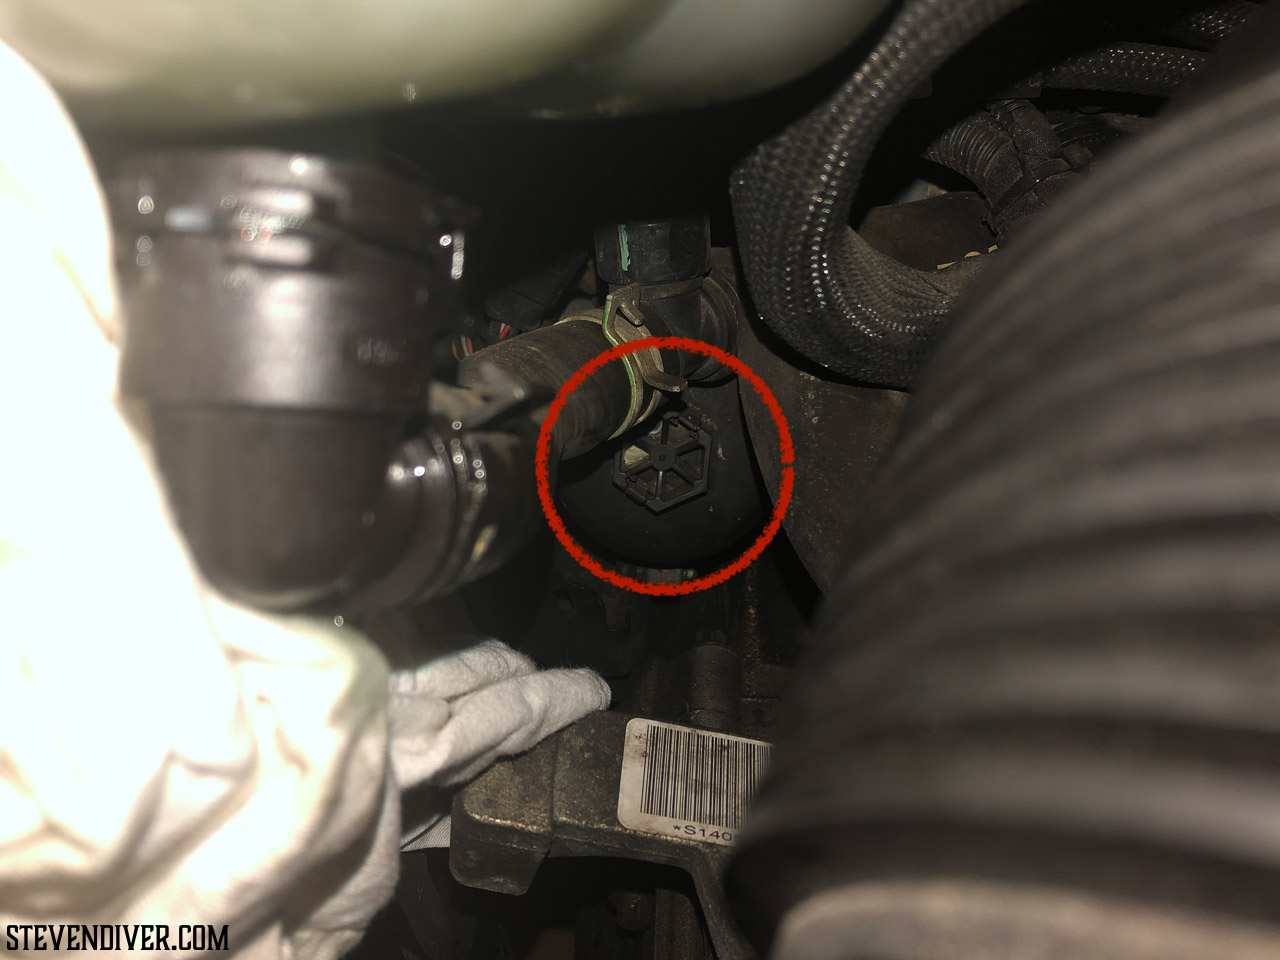
Under the hood, use a 10mm socket to remove the coolant expansion tank bolt (circled in red). Set it aside so you can replace it later. Gently, but firmly, pop the coolant expansion tank out of it’s lower mount, then off the upper clips, so it can be rotated and moved aside to make accessing the oil filter housing easier.
Note: Be careful moving the coolant expansion tank around, the hose attachment at the bottom of the tank is plastic, and I am always fearful it is going to break on me.
Using a 27mm socket, with a long extension, snake the socket in and fit it to the oil filter housing. Then attach the socket wrench, and loosen the oil filter housing. Be careful, as the oil filter housing is plastic and can strip easily. Once loosened, reach in and remove the oil filter housing, being careful not to spill too much oil in the engine bay. Once removed, set the oil filter housing aside, and clean any spilled oil.
Note: Keep the old blanket/towel or cardboard box, and oil catch pan, under the car while removing the oil filter housing, to catch any oil that will inevitably drip down to the garage floor.

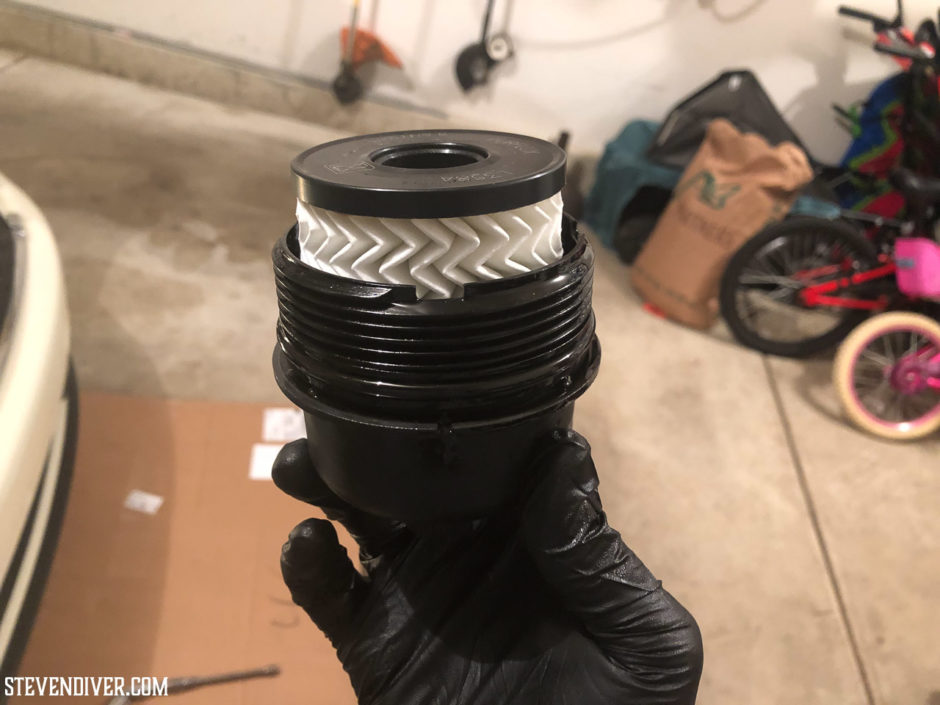
With the oil filter housing removed from the car, remove the old oil filter, and use a small flat-head screwdriver to pry the old o-ring from the filter housing. In your Oil Change Kit, find the new o-ring, and replace it on the oil filter housing. Once the o-ring is in place, smear with some of the used oil that had accumulated in the oil filter housing to create a good seal when re-installing. Drop the new oil filter in the housing, and the oil filter housing is ready to be reattached.
Back under the hood, hand thread the oil filter housing onto the engine, being very careful not to cross-thread (again, this thing is plastic!). Tighten the oil filter housing, using a torque wrench, to 18.5 ft-lb. Note: I torque the oil filter housing to 19 ft-lb. as my torque wrench only goes in 1 ft-lb. increments.
Place the coolant expansion tank back into position, being sure to pop it back into the mount. Replace and tighten the bolt to secure the coolant expansion tank.
Add 4.4 quarts of BMW/MINI approved engine oil, and check dipstick to ensure oil is filled to the proper level. If necessary, add oil to top off. Replace oil filler cap.
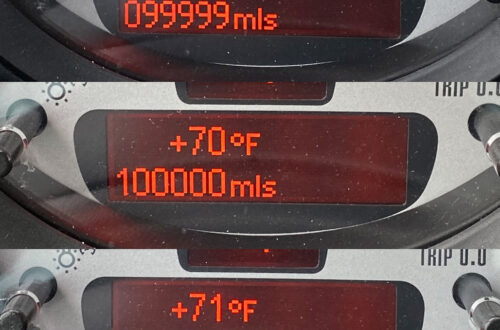
Start the car, and let idle. Check beneath the car for any leaks, then check the oil level using the dipstick. If no leaks are found, and oil is at the correct level, you can now reset the oil service indicator.
Reset Oil Service Indicator
Enter the MINI Service Menu…
- Insert Key
- Do not press clutch / brake
- Press Start button
- Wait until the SERVICE symbol disappears on the tachometer display.
- Immediately after the symbol goes out, press and hold the trip button on the tachometer.
- After another second or so, the display will show the Front Brake Symbol .
You are now in the MINI Service Menu. To reset the Oil Service indicator…
- Use the BC button (on the indicator stalk) to scroll through to the relevant symbols, eg. Oil Service, Rear Brakes, etc.
- Stop on the Oil Reset symbol.
- Press and hold the BC button at the revelant symbol until RESET appears. Then press and hold the BC button again until the service interval reset is complete.
- Press Start button to turn the car off.
- Press Start button to turn the car on…the warning should now be gone!
If it helps you to see things visually, here is a good YouTube video on the process…